Summary
Overview
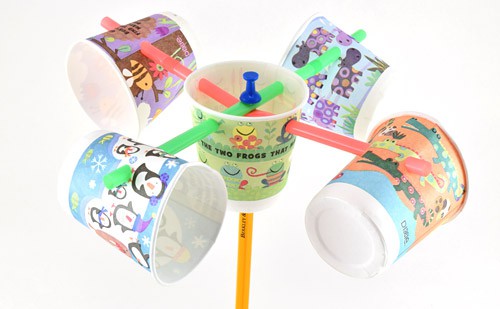
Help the budding meteorologists in your classroom learn how to measure wind speed by building their own anemometers (wind speed meters) with paper cups and straws. Then do a simple experiment in which students change the "wind" speed using a fan and measure how fast their anemometer spins.Learning Objectives
- Understand what an anemometer is and what it measures
- Understand the relationship between wind speed and how fast an anemometer rotates
NGSS Alignment
This lesson helps students prepare for these Next Generation Science Standards Performance Expectations:- 3-ESS2-1. Represent data in tables and graphical displays to describe typical weather conditions expected during a particular season.
|
Science & Engineering Practices
Planning and Carrying Out Investigations. Make predictions about what would happen if a variable changes.
Analyzing and Interpreting Data. Represent data in tables and various graphical displays (bar graphs and pictographs) to reveal patterns that indicate relationships. |
Disciplinary Core Ideas
ESS2.D: Weather and Climate.
Scientists record patterns of the weather across different times and areas so that they can make predictions about what kind of weather might happen next.
|
Crosscutting Concepts
Patterns. Patterns of change can be used to make predictions.
|
Materials
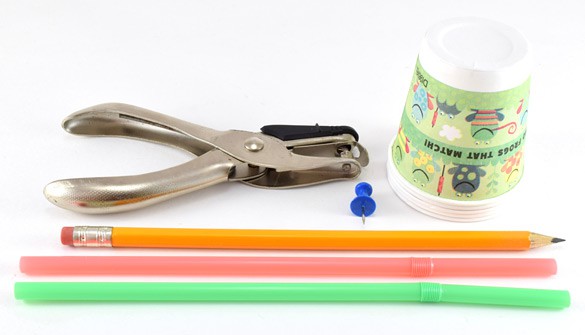
 Image Credit: Ben Finio, Science Buddies / Science Buddies
For the entire class:
- Variable-speed fan
- Single-hole punches to share
- Stopwatch
- Markers
For each group of students:
- 3 oz paper cups (5)
- Straws (2)
- Pushpin
- Sharpened pencil with eraser
Background Information for Teachers
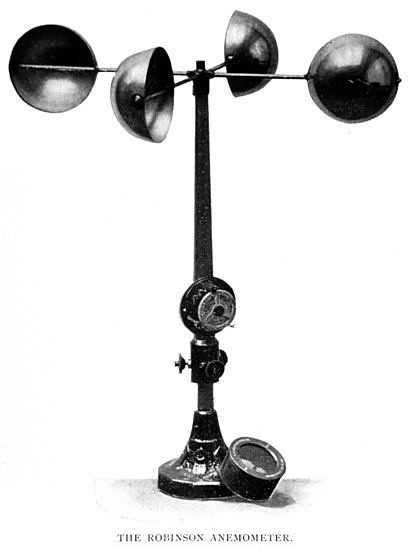
This section contains a quick review for teachers of the science and concepts covered in this lesson.An anemometer is an instrument that is used to measure wind speed. There are several different types of anemometers. A cup anemometer has three or four cups mounted about a vertical axis that can spin (Figure 1). The cups are aligned so they all face the same direction around a circle (all clockwise or all counterclockwise). The open sides of the cups "catch" the wind more than the closed sides. This means that when the wind blows, it pushes on one side of the anemometer harder, causing it to spin. The anemometer's rotation speed can then be used to determine the wind's speed. Real anemometers are calibrated, meaning that a certain rotation speed corresponds to a known wind speed. They usually display the wind speed in miles per hour (mph) or kilometers per hour (kph). In this project, your students will count how many rotations their anemometer makes in 15 seconds, but it is not possible to easily convert to wind speed in miles or kilometers per hour with this simplified anemometer. Look in the Variations section to see how students can correlate their data with real wind speeds.
 Image Credit: wikimedia user Sean Linehan / Public Domain
Figure 1. A cup anemometer.
Wind is just one aspect of the weather. Meteorologists use anemometers, along with other instruments like thermometers (to measure temperature) and barometers (to measure pressure) to make observations of the weather. Studying weather patterns helps them develop forecast models to predict future weather. You probably see these forecasts almost every day when you check the weather on TV or online. In this project, your students will be meteorologists for a day by building simple anemometers with readily available materials, and measuring how changing the speed of the "wind" (using a fan) affects the anemometer's rotation speed.


