The Golden State Star Party - II
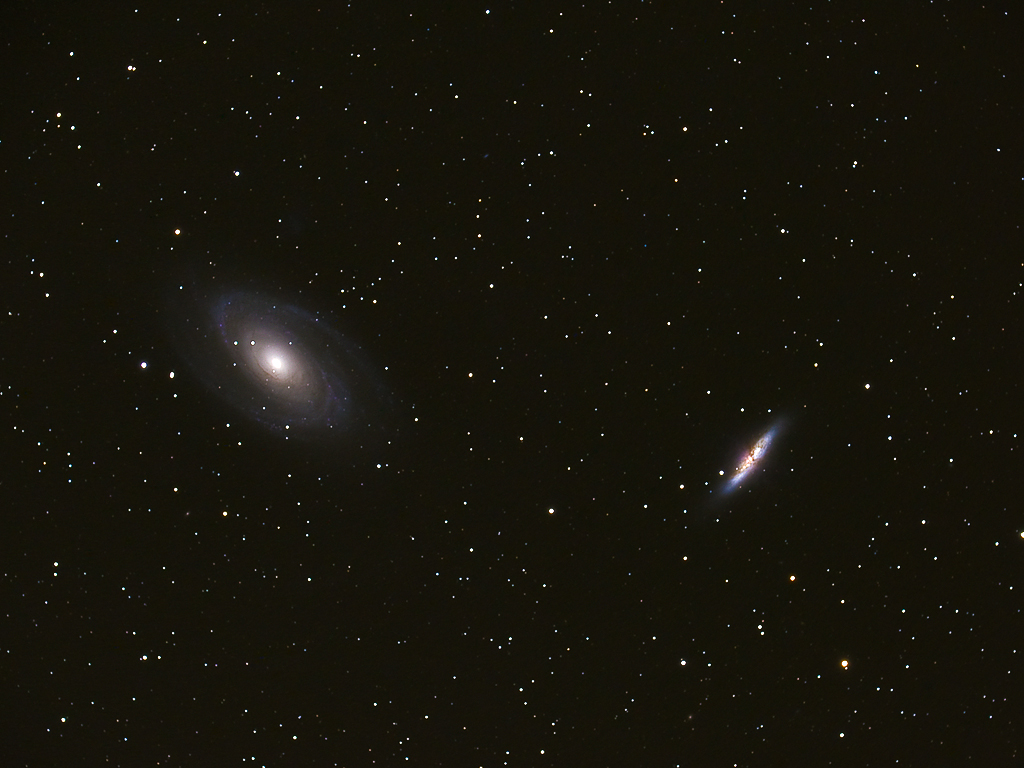
I wrote earlier about my trek to the northeastern corner of California to attend the Golden State Star Party. My objective was to photograph a galaxy, and after checking out the pristine skies during my first night of observing, I selected my targets: M81 and M82, a close-by pair of galaxies in Ursa Major (the Big Dipper).
Some nearby galaxies appear fairly large in the sky, surprisingly, almost the size of a crescent moon in the case of M81. But the surface brightness is extremely low, so such galaxies are not visible to the naked eye. Even through my telescope eyepiece, M81 is little more than a smudge of light. To see interesting detail takes a very large telescope, a long photographic exposure, or both. Since I had never taken photographs of this type, preparation took months.
There were three areas where I needed to do research, purchase equipment, and practice:
- Even though my telescope has a mount that compensates for the earth's rotation, I knew that small errors could creep in and smear my pictures unless I made corrections. I've done this by hand for relatively short exposures, but I knew that my photos of M81 and M82 would take hours of exposure, so I purchased and learned to use an autoguider, which is an auxiliary camera on a small telescope piggy-backed to the main one. If the target moves even a fraction of a pixel off center, the autoguider sends a correction to the telescope mount to compensate.
- When doing long exposures with a digital camera, one typically breaks the total exposure into pieces (5 minutes each in my case), and then stacks the resulting exposures in a program like Photoshop. This stacking reduces the noise in the resulting photograph. You can press the shutter by hand, but I chose to obtain special software and cables to remotely control the Nikon DSLR that I planned to use for the photographs. From my laptop computer, its screen covered with red Plexiglas® so as not to disrupt my night vision, I could view through and control both my autoguider and my Nikon.
- Finally, it is very difficult to focus a telescope with a camera attached because the image is so dim. I chose to purchase and use a Bahtinov mask, which is a strangely shaped mask that I put over the lens of my telescope only while I am focusing it. The mask produces a diffraction pattern around any star. This pattern indicates whether the image is in focus and, if not, in which direction to turn the focus knob - it's pretty slick!
Having worked most of the kinks out in advance, I was very happy with my results; however, there was a surprise. I found that earth-orbiting satellites were streaking across five of my exposures. Fortunately, when stacking the images, it is possible to make these streaks disappear. In my next entry I'll discuss the nature and size of M81 and M82.
Curious About Astrophotography?
Whether you come at it from an interest in astronomy or an interest in photography, astrophotography is an eye-opening field that combines art, science, and technology. If you are interested in learning more about astrophotography with digital cameras, these resources will help get you started:
- The Digital Photos and Dynamic Range Science Buddies Project Idea discusses important information that any astrophotographer needs to understand.
- Catching the Light is a good general source of information about digital astrophotography.
Categories:
You Might Also Enjoy These Related Posts:
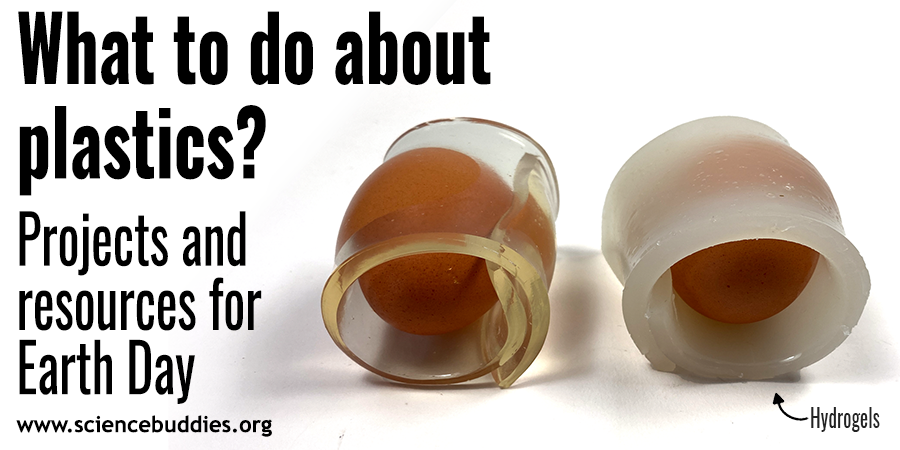
- Plastics and Earth Day - Science Projects
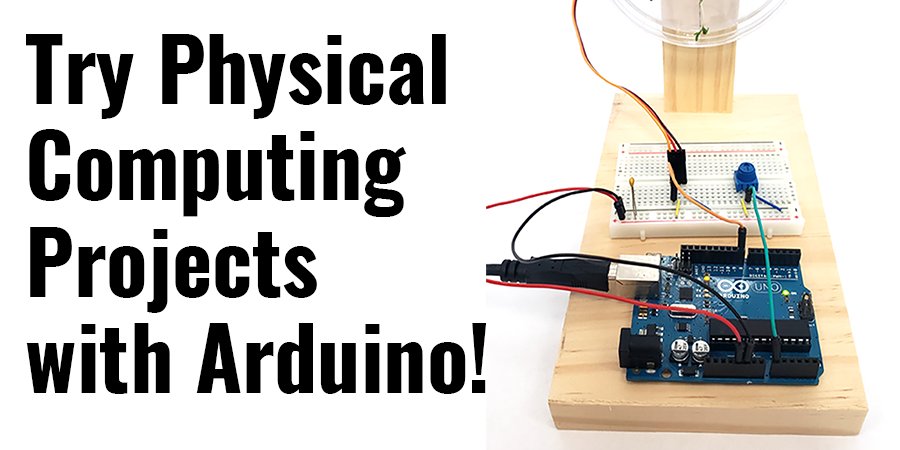
- Arduino Science Projects and Physical Computing
- 10+ Robotics Projects with the BlueBot Kit
- 5 STEM Activities with Marshmallow Peeps
- March Madness Basketball Science Projects: Sports Science Experiments
- Women in STEM! More than 60 Scientists and Engineers for Women's History Month
- Explore Artificial Intelligence and Machine Learning with Student AI Projects
- 10 Reasons to Do the Rubber Band Car Engineering Challenge