Electric Play Dough Recipes
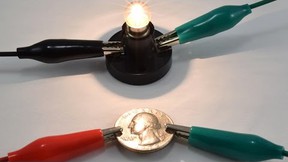
Fun with CircuitsMaking circuits out of play dough is a fun and easy way to learn about electronics while adding light, sound, and motion to your artwork. The Electric Play Dough Kit available for purchase from our partner Home Science Tools contains all the electronics parts you need to get started building your own squishy circuits, but you will need to provide your own Play-Doh and modeling clay. The Play-Doh serves as a conductive material that electricity can pass through, while the modeling clay serves as an insulating material that stops the flow of electricity. Alternatively, you can follow the electric play dough recipes, below, to make your own conductive and insulating doughs. Whether you are a student looking for a science fair project, a teacher looking for a lesson plan to do with your students, or a parent looking for a fun at-home science activity, we have the perfect circuits adventure: Making Electric Play DoughUse these recipes if you want to make your own conductive and insulating play doughs. Conductive Play Dough
This video is a step-by-step tutorial on making the conductive play dough. It should help answer any questions you have about how to judge the consistency of your play dough at each step. Insulating Play Dough
This video is a step-by-step tutorial on making the insulating play dough. It should help answer any questions you have about how to judge the consistency of your play dough at each step. |
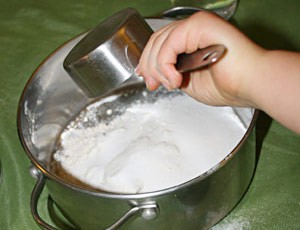 Image Credit: Sandra Slutz, Science Buddies / Science Buddies Image Credit: Sandra Slutz, Science Buddies / Science Buddies
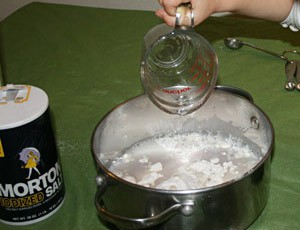 Image Credit: Sandra Slutz, Science Buddies / Science Buddies Image Credit: Sandra Slutz, Science Buddies / Science Buddies
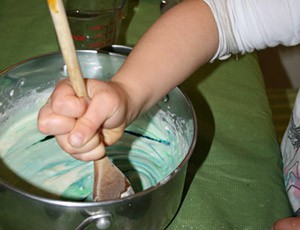 Image Credit: Sandra Slutz, Science Buddies / Science Buddies Image Credit: Sandra Slutz, Science Buddies / Science Buddies
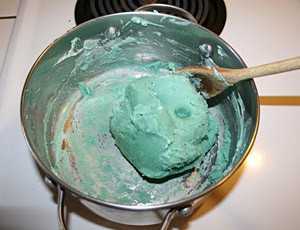 Image Credit: Sandra Slutz, Science Buddies / Science Buddies Image Credit: Sandra Slutz, Science Buddies / Science Buddies
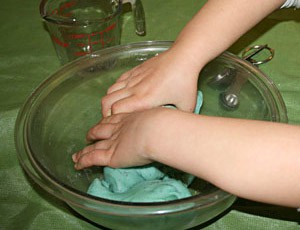 Image Credit: Sandra Slutz, Science Buddies / Science Buddies Image Credit: Sandra Slutz, Science Buddies / Science Buddies
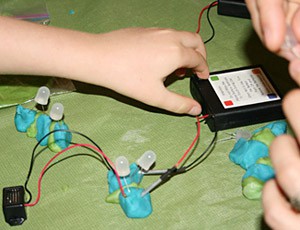 Image Credit: Science Buddies Image Credit: Science Buddies
|
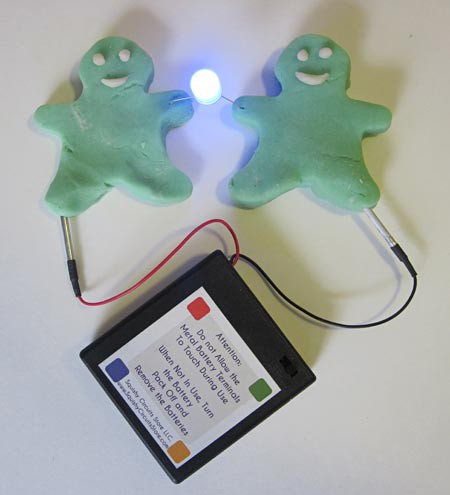 Image Credit: Ben Finio, Science Buddies / Science Buddies
You can use your own home made play dough to make circuits.