Summary
Introduction
Wind energy is becoming more and more popular across the United States, maybe you have even seen a wind farm close to where you live! In 2015, approximately 7% of the electricity used in the U.S. was generated by wind, so who knows, when you switch on a light bulb in your house, that light might be coming from wind energy!
Wind energy is generated by wind turbines. These machines can look like giant pinwheels, and their job is to turn energy from the wind into mechanical or electrical energy. Believe it or not, the wind turbines we use today are based on designs that are over 4,000 years old!
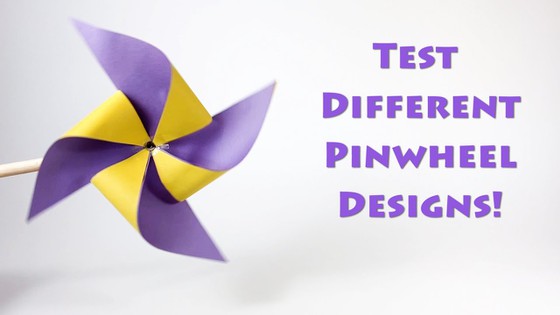
In this activity we will be exploring different turbine designs by testing pinwheels, and learning about the factors that can improve their performance.
Background
Wind turbines convert wind energy into mechanical or electrical energy. One type of wind turbine, the windmill, has been used all over the world for thousands of years to convert wind energy into mechanical energy, for tasks such as grinding grain and moving water. More recently, wind farms that use wind turbines to convert wind energy into electrical energy have become increasingly popular. In some states, wind energy is quickly becoming a major source of electrical energy. For example, in 2015 more than 30% of the electricity used in Iowa came from wind energy!
In general, wind turbines all have the same basic components: blades on a rotor connected to a shaft, both of which are turned by the wind hitting the rotor blades. To make wind energy as efficient as possible, engineers have experimented with many different wind turbine designs. For example, wind turbines can rotate on a horizontal or vertical axis, have large or small blades, and in some cases, they can even be bladeless!
Variations in the design of wind turbines are based on where the turbine will be located, and how environmental factors will affect its performance. The goal, however, is always to maximize the amount of energy extracted from the wind. In this activity you will explore one of these factors—the shape of the blades—to determine how they affect the efficiency of your pinwheel.
Materials
- 4 pieces of construction paper (about 8"x11")
- Stickers or tape
- 3 flat-ended pins or thumbtacks
- 3 pencils with erasers, or wooden dowel rods
- Scissors
- Ruler
- Glue
- An adult helper
- A pen or pencil
- A clock or timer
- A fan (optional)
- A hairdryer (optional)
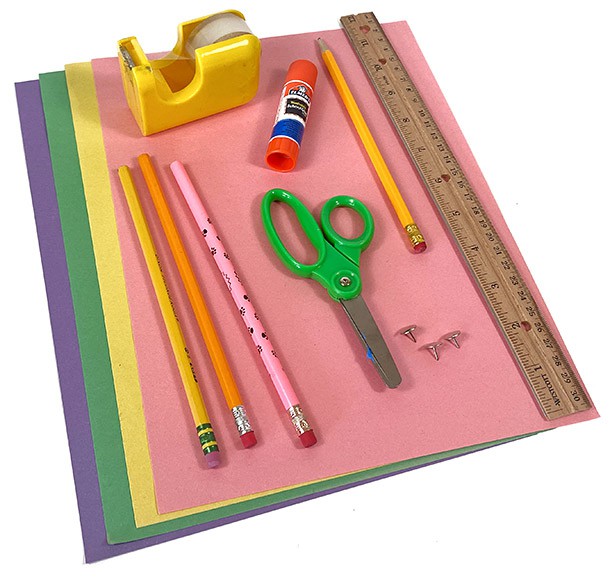 Image Credit: Svenja Lohner, Science Buddies / Science Buddies
Instructions
- Cut two 8"x 8" squares of paper from two pieces of construction paper. Place one square on top of the other and line up all the edges, then glue these two pieces together, making one 8"x 8" square. Tip: for a pretty pinwheel, use two different colors of paper.
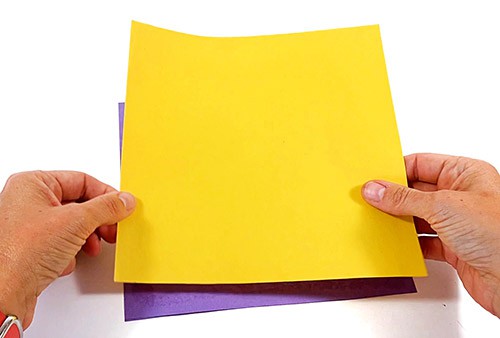 Image Credit: Svenja Lohner, Science Buddies / Science Buddies
- Fold the double-layered square in half diagonally and make a crease. Open it up, and fold it diagonally again, this time in the opposite direction. Make a crease, then open the paper back out to the square.
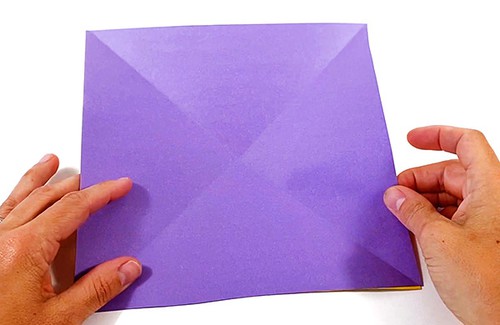 Image Credit: Svenja Lohner, Science Buddies / Science Buddies
- Use your scissors to cut from each corner along the diagonal fold, stopping 1.5 inches from the center. You should now have a square with 4 ‘wings’ or ‘petals’.
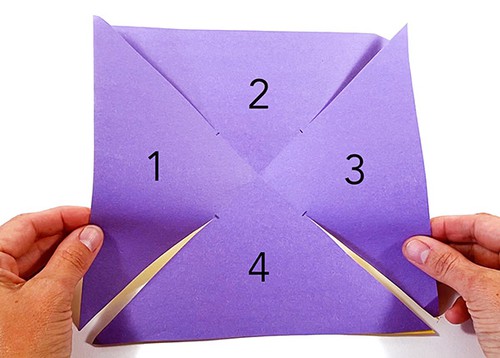 Image Credit: Svenja Lohner, Science Buddies / Science Buddies
- Starting with the topmost petal, gently fold down the right corner of the petal and hold it in the center of the square. Try not to crease the paper. Repeat this with each remaining petal, holding each corner in place in the center with your hand. Tip: Ask an adult to help you hold the petals in place as you work your way around the square.
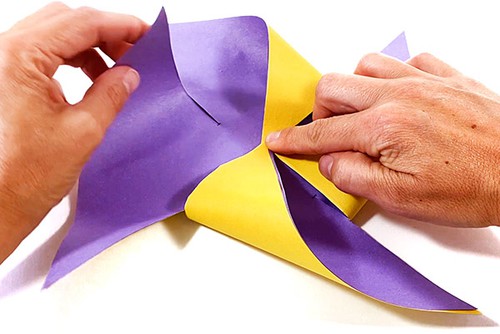 Image Credit: Svenja Lohner, Science Buddies / Science Buddies
- Once all 4 petals have one corner folded down to the center, hold them in place with a sticker or tape.
- With the help of an adult, push your thumbtack through the sticker or tape at the center of the pinwheel.
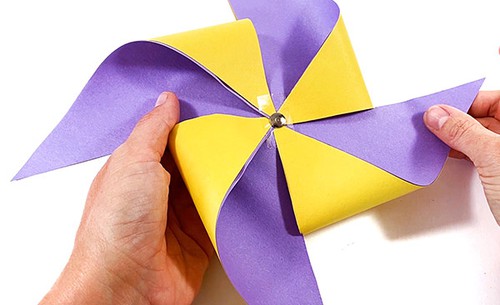 Image Credit: Svenja Lohner, Science Buddies / Science Buddies
- Use the thumbtack to attach the pinwheel to a pencil eraser. Make sure the pinwheel is held securely, but can still turn on the thumbtack.
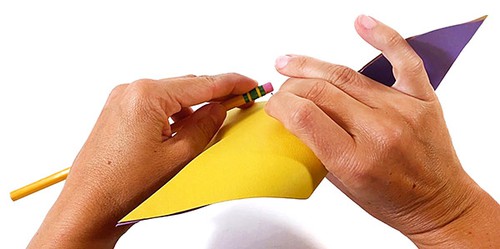 Image Credit: Svenja Lohner, Science Buddies / Science Buddies
- Use another piece of construction paper to cut out eight, 4"x 2" strips of paper. For each pair of strips, place one strip on top of another and line up all the edges, then glue those two stripes together. When you are finished you should have four, 4"x 2" strips.
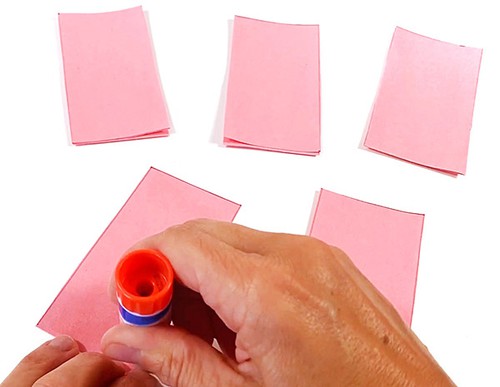 Image Credit: Svenja Lohner, Science Buddies / Science Buddies
- Take your four, 4"x 2" strips of construction paper. Fold each strip lengthwise down the center, then open it back up again so that the paper forms a ‘V’.
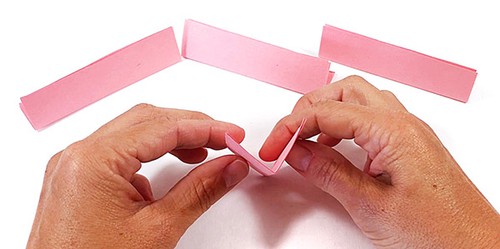 Image Credit: Svenja Lohner, Science Buddies / Science Buddies
- Arrange the four folded strips as shown in the image below. Each paper strip represents one blade of a turbine.
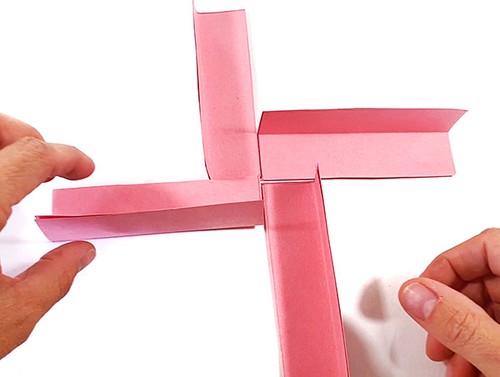 Image Credit: Svenja Lohner, Science Buddies / Science Buddies
- Tape all the strips together in the middle where they join. Add tape to both sides, the front and the back.
- With the help of an adult, stick a thumbtack through the tape at the center of the pinwheel.
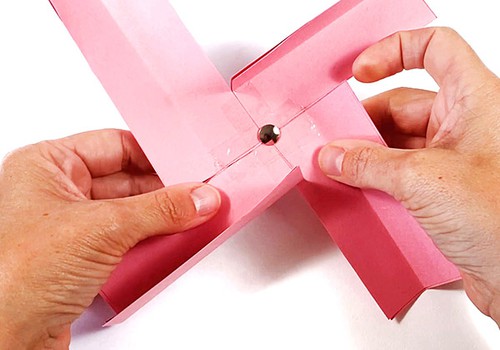 Image Credit: Svenja Lohner, Science Buddies / Science Buddies
- Use the thumbtack to attach this second pinwheel to a pencil eraser. Make sure the pinwheel is held securely, but can still turn on the thumbtack.
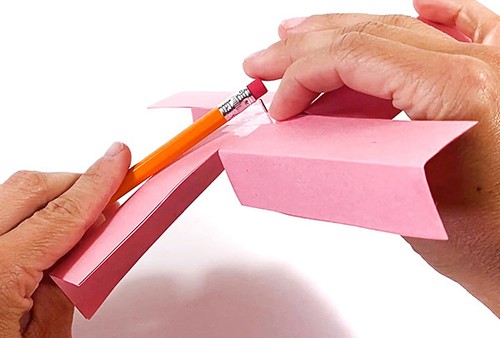 Image Credit: Svenja Lohner, Science Buddies / Science Buddies
- Use another piece of construction paper to cut out eight triangles, each with a base of 3 inches and a height of 4 inches. For each pair of triangles, place one triangle on top of another and line up all the edges, then glue those two triangles together. When you are finished you should have four triangles, each 4 inches tall with a 3-inch base.
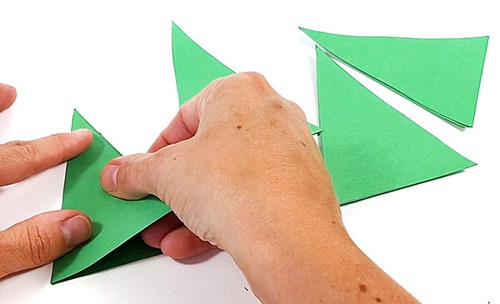 Image Credit: Svenja Lohner, Science Buddies / Science Buddies
- Fold each of the four triangles down the center from its apex to its right corner, and then open them back up again so that each piece of paper forms a ‘V’ shape.
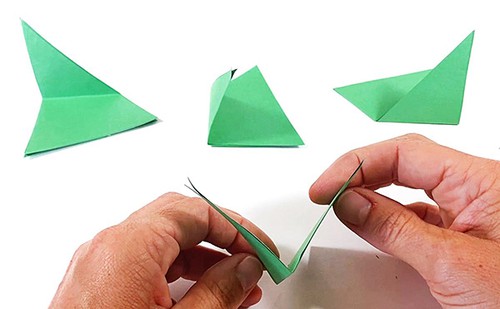 Image Credit: Svenja Lohner, Science Buddies / Science Buddies
- Spread the triangles out on the table so that they point in four different directions and meet at their apexes (tips). Then tape all the triangles together in the middle where their apexes meet. Add tape to both sides, the front and the back.
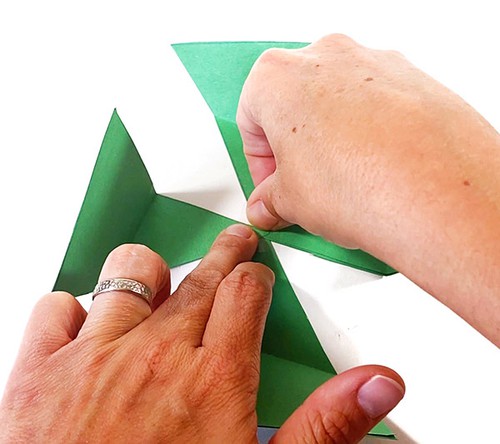 Image Credit: Svenja Lohner, Science Buddies / Science Buddies
- With the help of an adult, stick the thumbtack through the tape at the center of the pinwheel.
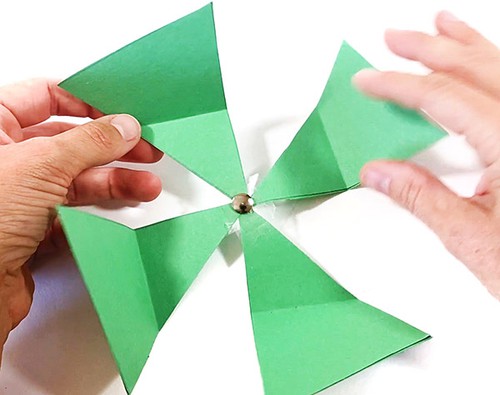 Image Credit: Svenja Lohner, Science Buddies / Science Buddies
- Use the thumbtack to attach the pinwheel to a pencil eraser. Make sure the pinwheel is held securely, but can still turn on the thumbtack.
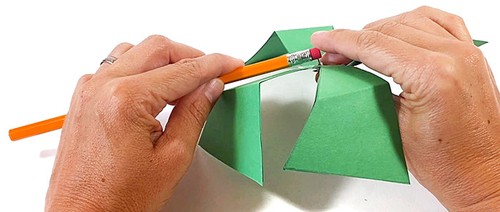 Image Credit: Svenja Lohner, Science Buddies / Science Buddies
- Test each of your pinwheel designs. If it is windy outside, you can do this by taking them outside and holding them in the breeze. Or you can hold them each in front of a small fan or ceiling fan, or use a hairdryer on the lowest, cool setting to blow air at your pinwheel.
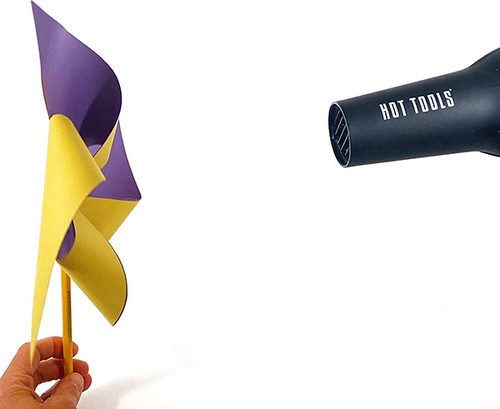 Image Credit: Svenja Lohner, Science Buddies / Science Buddies
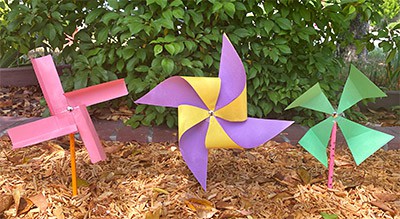
- For each test, hold your pinwheel to the wind, and count the number of full rotations in 1 minute. Also observe how well the pinwheel performs in the wind. Which pinwheel seems the sturdiest? Which one seems the weakest?
Extra: Experiment with other pinwheel designs. Observe which factors seem the most important for creating the best pinwheel.
Observations and Results
In this activity you designed and tested 3 different model pinwheels. Each design you tested had differently shaped rotor blades.
You should have found that the first pinwheel, with the folded over blades, rotated the fastest and most smoothly when placed in front of a fan or in a breeze. The triangle and rectangle shaped blades probably did not spin as quickly or as efficiently as the first one you tested.
The difference in performance of each pinwheel was the result of the different shaped rotor blades that you tested. The first pinwheel’s blade design allowed each blade to capture the most air as it rotated. To understand why this made it move faster, imagine a swimmer, racing through the water. With each stroke, a good swimmer will keep their hand closed and slightly cupped, to try to capture the most water in their hand. This allows the swimmer to ‘push’ against more water, and propel themselves forward. You can imagine if they spread their fingers and allowed the water to flow through, they wouldn’t be able to push themselves through the water as quickly.
Your first pinwheel design is based on the same principles. Because it’s folded over, it acts like a pocket for collecting air. The more air it can collect, the more efficiently it will be pushed around the rod. The other two pinwheel designs did not collect air in the same way, therefore they weren’t pushed as quickly or smoothly as the first design.
Now that you know the basics of pinwheel rotor blade design, try experimenting on your own to make the most efficient pinwheel you can!
Ask an Expert
Additional Resources
- Unleash the Power of a Pinwheel!, from Science Buddies
- Spinning Your Wheels: Pinwheel Sensitivity, from Science Buddies
- Science Activities for All Ages!, from Science Buddies