Summary

Introduction
Have you ever gone to pour yourself a cup of milk, and all you get is clumps? What happened to the milk is called coagulation, which is the mechanism that occurs when proteins in the milk clump together. While you do not necessarily want this in your milk, without coagulation (or curdling), there would be no cheese or yogurt, which is why it is a very important process in the food industry. Wonder how you can make milk curdle? Do this activity to find out!
Materials
- Pineapple (fresh)
- Teaspoon
- Tablespoon
- Knife
- Cutting board
- Cheesecloth or a piece of cotton fabric (2)
- Microwavable containers or cups (2)
- Fresh cow's milk, any percent but not evaporated (room temperature)
- Paper towels
- Microwave
- Permanent marker
- Mini cups, about 2 oz. (5)
- Adult helper
- Optional: timer
 Image Credit: Svenja Lohner, Science Buddies / Science Buddies
Prep Work
- Choose a work area that can tolerate some spills.
- Mark two microwavable containers or cups with the labels pineapple juice and pineapple juice (heated).
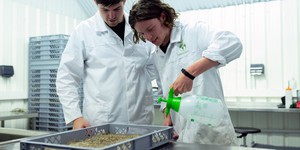
- Take a fresh pineapple, and with the help of an adult, cut off the rind on a cutting board. Only use about one fifth of the pineapple. Cut the flesh in smaller pieces and grate it. Alternatively, you can use a juicer or blender. Then, place the grated fruit in a piece of cheesecloth and squeeze at least one teaspoon of juice into each container or cup that you labeled with pineapple juice.
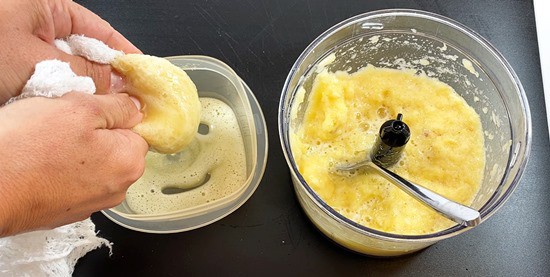 Image Credit: Svenja Lohner, Science Buddies / Science Buddies
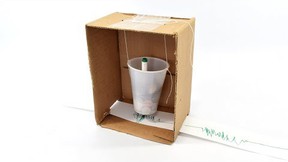
- Put the container or cup that you labeled pineapple juice (heated) into the microwave and heat it just long enough to get it boiling (about 10-20 seconds). When it starts to boil, take it out of the microwave and let it cool down.
- Label three mini cups milk, milk + juice, and milk+ heated juice.
- Fill each of these cups with about one tablespoon of milk.
- Label the last two mini cups curd and whey.
Instructions
- Place the cup that you labeled milk in front of you. It should contain one tablespoon of milk.
 How does the milk look? What happens if you gently swirl the milk in the cup? Do you notice anything unusual?
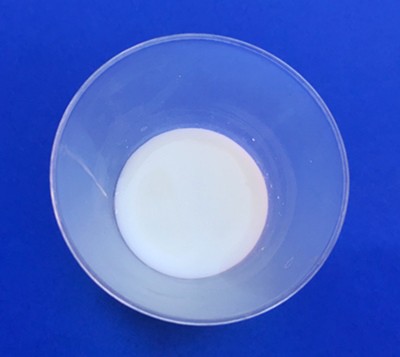 Image Credit: Svenja Lohner, Science Buddies / Science Buddies
- Use your milk + juice cup, and with a clean teaspoon, add one teaspoon of pineapple juice to the milk. Observe what is happening for about five minutes.
Does the milk curdle with pineapple juice? Is the reaction fast or slow compared to the reaction with lemon juice?
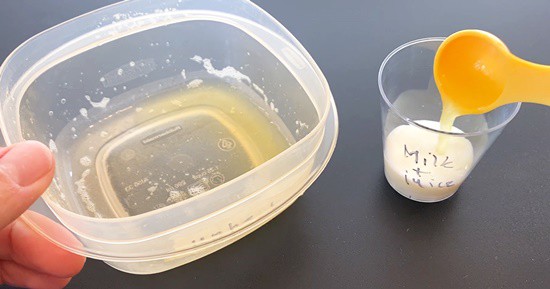 Image Credit: Svenja Lohner, Science Buddies / Science Buddies
- To the milk + heated juice cup of milk, add a teaspoon of heated pineapple juice and swirl the cup slightly. Again, observe the cup for about five minutes.
Do you get a similar result again, or is it different? If yes, how is it different? What do you think happened? Can you explain your observations?
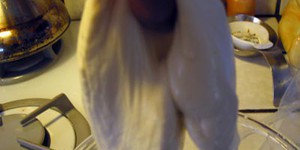
- Choose the cup with milk that gave you the greatest amount of curd. Then, place your second cheesecloth over the cup labeled with whey and carefully pour the curdled milk mixture onto the cloth. Fold the cloth over the curdled milk and squeeze the liquid from the mixture into the cup. Note: If you did not get lots of curd, you can warm the milk up in the microwave (5-10 s) before you add the pineapple juice.
Do you see a lot of liquid coming out of the cheesecloth? What does the liquid look like? Is it clear, does it have a color, or does it still look like milk? What do you think the liquid is?
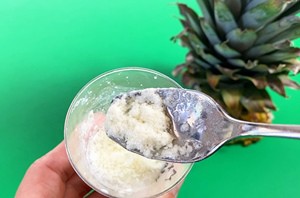
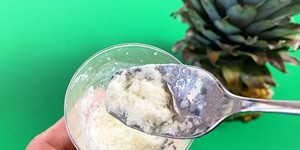
- Once you have squeezed out all the liquid, open the cheesecloth and scoop the curd into the cup labeled curd.
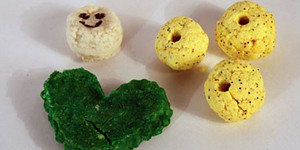
How much curd did you get, and what does it look like? Does it remind you of a cheese product? How does it feel if you touch it with your fingers? What parts of the milk do you think are inside the curd?
- If you want (and only if you used clean materials!), you can taste a little bit of the whey and curd.
Does it taste similar to milk? Is it sweet, sour, creamy, or salty?
Cleanup
What Happened?
Did you see some nice clump formation in your milk? Whereas regular milk looks smooth and white, it changes when you add a teaspoon of pineapple juice. It slowly gets thicker in consistency, and you see white clumps forming that stick to the cup wall when you swirl the milk slightly. The clumps, or curd, consist of casein proteins that are usually in solution where they form micelle structures. These structures are very fragile and can easily break up and form clumps of casein proteins. Pineapple contains an enzyme called bromelain, which is a protease that chops up the casein proteins, destroying their micelle structure. You might have noticed that the curdling did not happen immediately after adding the pineapple juice. The enzymes need some time to get active, but within five minutes, the milk should have looked very clumpy. Many enzymes get deactivated when heated up. When you boil the pineapple juice in the microwave, the enzymes will not work anymore. This is why no or almost no milk curdling occurs when you added the heated pineapple juice.
Filtering out the curd through a cheesecloth results in a whitish-yellow solution called whey, which consists of about 94 per cent water and four to five per cent lactose and whey proteins. The solid part, the curd, looks like cottage cheese—and it actually is! If you want to make it really tasty, look at the recipe below given in the Additional Resources section.
Digging Deeper
Milk is truly a multipurpose liquid. By itself, milk is a healthy and nutrient-rich beverage, but when you start treating milk in various processes, all kinds of other products can be created, such as butter, yogurt, buttermilk, and cheese. Milk mostly consists of fat, protein, lactose (a kind of sugar), and water. The milk fat is suspended in the water as fine droplets, which makes it an emulsion. At the same time, there are a lot of proteins, mostly whey and casein, in milk. As casein is poorly soluble in water, casein proteins build spherical structures, called micelles, which allow them to stay in suspension as if they were soluble.
With both fat and proteins in suspension, the milk is a white liquid as we know it. However, the casein micelle structures can easily be disrupted or changed, and once they are altered, they cannot be reformed. Because the micelle structure holds the casein protein in suspension, without it, the micelles will clump together, and the casein comes out of the solution. The result of this process of milk coagulation, or curdling, is a gelatinous material called curd.
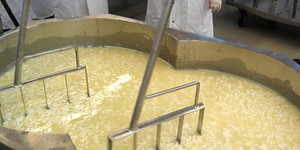
Curdling of milk is the starting process for many other dairy products such as cottage cheese, ricotta, paneer, and cream cheese. This is why cheese producers want the milk to curdle. There are different ways to start milk coagulation. You can do it with acid, with heat, by letting the milk age long enough, or with specific enzymes. Enzymes are proteins that perform a specific chemical reaction. Chymosin, for example, is an enzyme derived from rennet that alters the casein micelle structure to make milk curdle. Proteases are other enzymes that disrupt the casein micelle structure by chopping up proteins, causing milk to curdle.
Ask an Expert
For Further Exploration
- What other solutions can make milk curdle? Try out different fruit juices or other liquids that you find in your kitchen, and test how your milk reacts to these. Remember that acidity (how sour something is) and enzymes are good ways to make milk curdle!
- How much pineapple juice is necessary to make milk curdle? To find out, you could repeat this activity, but this time, change the amount of juice that you add to your milk. Is one drop enough, or do you need 10? When does the milk start to curdle?
- In this activity, you tested one kind of milk. Do you think other milks such as fat-free milk, lactose-free milk, coconut milk, and almond milk will give you the same results? There is only one way to find out: test it!
- Do you want some more cheesy results? Then use this activity to make some real cottage cheese. An example recipe is given in the Additional Resources section.
Related Resources
Project Ideas
Activities
Lesson Plans
- 5-PS1-4. Conduct an investigation to determine whether the mixing of two or more substances results in new substances.