Science Fair Project Display Boards
Key Info
- For almost every science fair project, you need to prepare a display board to communicate your work to others. In most cases you will use a standard, three-panel display board that unfolds to be 36" tall by 48" wide. Display boards can be found at Amazon and other retailers.
/-/https/www.sciencebuddies.org/cdn/Files/19169/5/display-board-trifold-thumbnail.png)
- Organize your information like a newspaper so that your audience can quickly follow the thread of your experiment by reading from top to bottom, then left to right. Include each step of your science fair project: Abstract, question, hypothesis, variables, background research, and so on.
/-/https/www.sciencebuddies.org/cdn/Files/418/12/2001cssf_01sml_small.jpg)
- Use a font size of at least 16 points for the text on your display board, so that it is easy to read from a few feet away. It's OK to use slightly smaller fonts for captions on picture and tables. For more details see: Everything You Need to Know About Fonts for Display Boards
- The title should be big and easily read from across the room. Choose one that accurately describes your work, but also grabs peoples' attention.
- A picture speaks a thousand words! Use photos or draw diagrams to present non-numerical data, to propose models that explain your results, or just to show your experimental setup. But, don't put text on top of photographs or images. It can be very difficult to read.
/-/https/www.sciencebuddies.org/cdn/Files/419/9/display_board_0362.jpg)
This sample shows how difficult it can be to read text when you print it on top of an image. Don't do it!
- Check the rules for your science fair. Here is a list of items that some science fairs allow (or even require) and some science fairs don't require (or even prohibit):
- Your name on the display board
- Pictures of yourself
- Captions that include the source for every picture or image
- Acknowledgements of people who helped you
- Your laboratory notebook (some science fairs want you to have it only during judging)
- Equipment such as your laboratory apparatus or your invention
Materials and Construction Techniques
Materials and Construction Techniques
- Use a self-standing display board like these. Display boards in black or white-colored "foam core" (a sandwich made up of two pieces of smooth surface paper with a polystyrene (plastic) middle) or corrugated cardboard are readily available at many retailers ranging between $4 to $14 per board depending on the material.
- Print out or write your information on white paper that you will attach to your display board. Be sure to proofread each sheet before you attach it.
- Instead of regular paper, use cover stock (67#) or card stock (110#). These heavier papers will wrinkle less when you attach it to your display board.
- Matte paper is preferable to glossy because it won't show as much glare- glare makes your display board difficult to read.
- Glue sticks (use plenty) or rubber cement work well for attaching sheets of paper to your display board. Use double-sided tape for items like photographs that may not stick to glue.
- Add simple visual accents to your board. Do not make the board too busy or it becomes difficult to read. Try these simple techniques instead:
- Use color construction paper to add accents to your display board. A common technique is to put sheets of construction paper behind the white paper containing your text.
- Use borders to draw the audience's attention.
/-/https/www.sciencebuddies.org/cdn/Files/421/15/display-board-construction-paper.jpg)
Color construction paper can accent your board.
Samples
Samples
Click the Science Fair Display Board image below to start the slideshow with a collection of examples!
Slideshow Images
1. A bright border can liven up a project display board (image courtesy of Elmer's, 2012).
2. If you need more room to fit all your data, use a display board header card (image courtesy of Elmer's, 2012).

3. Using a colorful tri-fold display board, like this red one, for your science project can be a nice visual contrast (image courtesy of Elmer's, 2012).
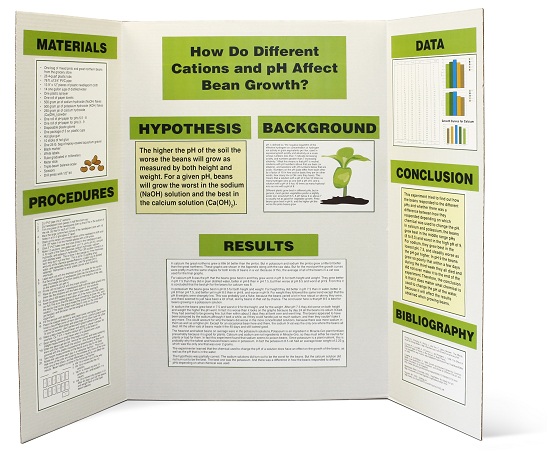
4. Putting headings like Materials, Procedure, and Data in large fonts helps increase the readability of your project display board (image courtesy of Elmer's, 2012).
5. If you choose to print your display board as a full size poster, consider mounting it on a tri-fold board, as shown here, to make it easy to set up free-standing on a table (image courtesy of Kim Mullin, 2012).
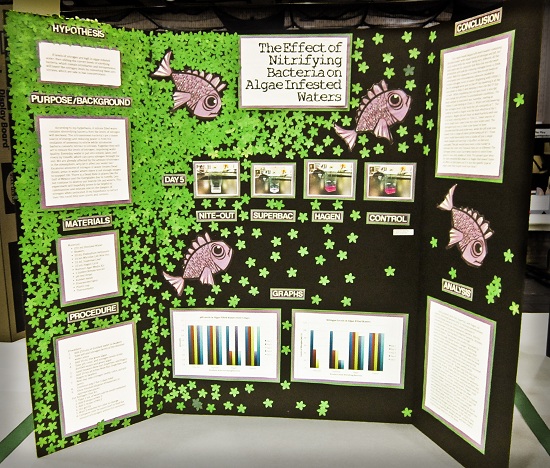
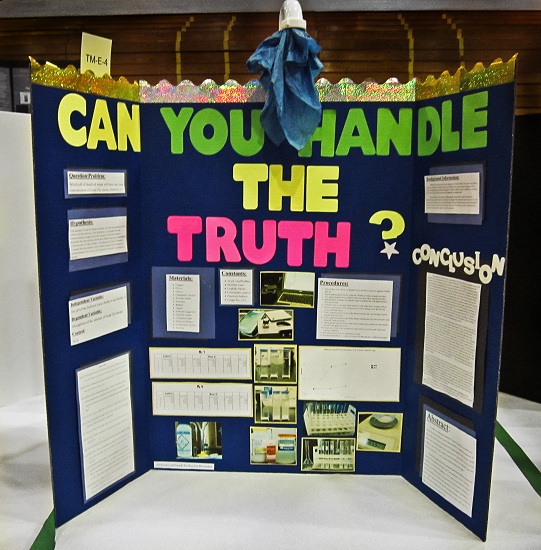
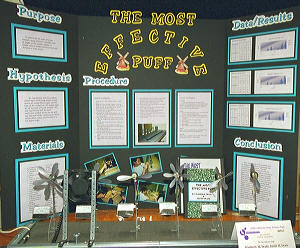
6. Thematic decorations can help set your science fair display board apart from the rest as long as the decorations do not make it difficult to see and read the project information. (image courtesy of Kim Mullin, 2012).
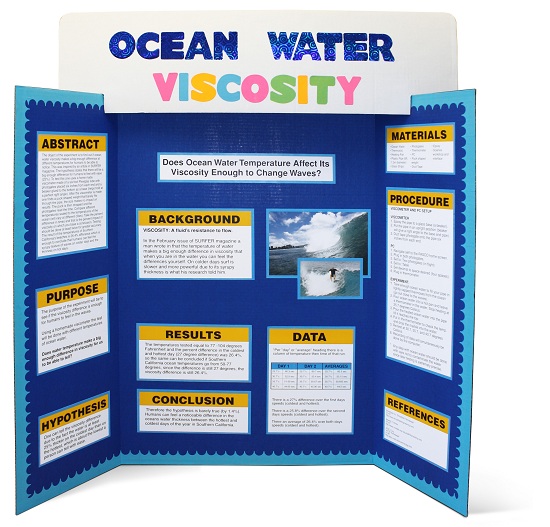
7. Contrasting colors, in this case yellow construction paper as the backing for text and images on a blue tri-fold display board, can help draw the attention of passer-bys (image courtesy of Kim Mullin, 2012).
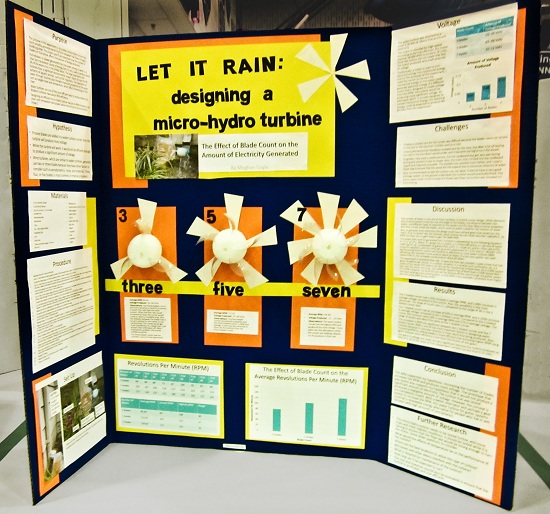
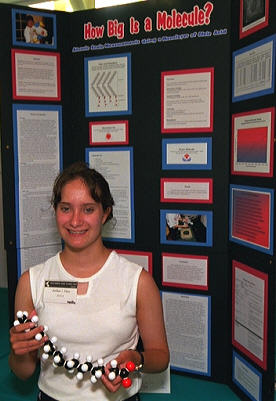
8. Adding models, like these turbines, to a display board can be a great way of conveying lots of information quickly (image courtesy of Kim Mullin, 2012).
9. Using large letters for your project title helps attract readers (image courtesy of Kim Mullin, 2012).
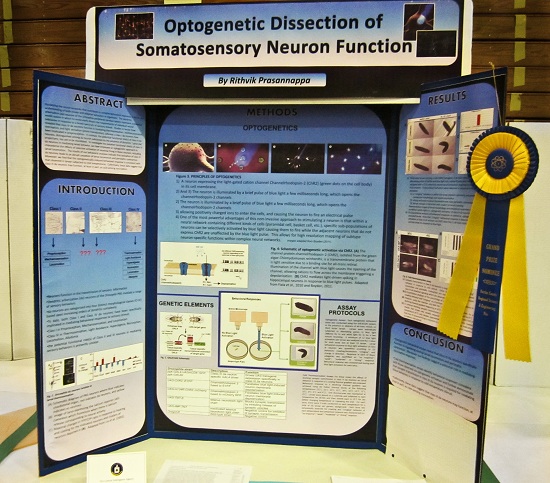
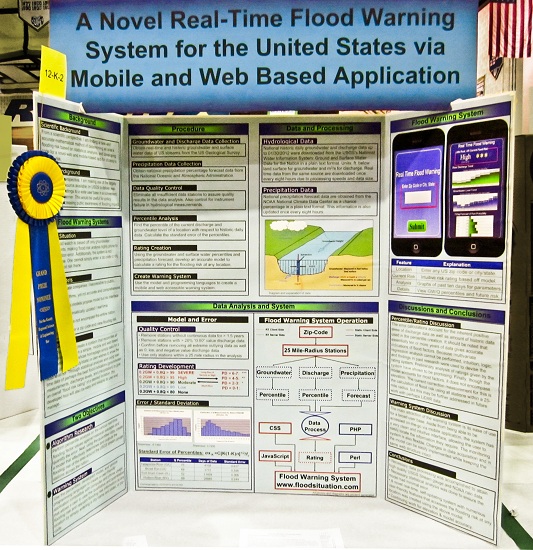
10.Diagrams and photographs are a good way of conveying a lot of information quickly and efficiently on a project display board, especially for complex science projects like this one (image courtesy of Kim Mullin, 2012).

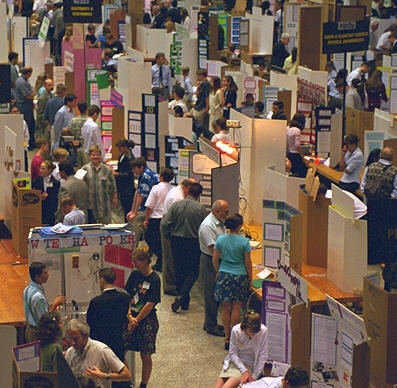
11. Science fairs often have a large number of projects packed close together. Large font, good color combinations, and neatness will help your project display board stand out and be easily read.
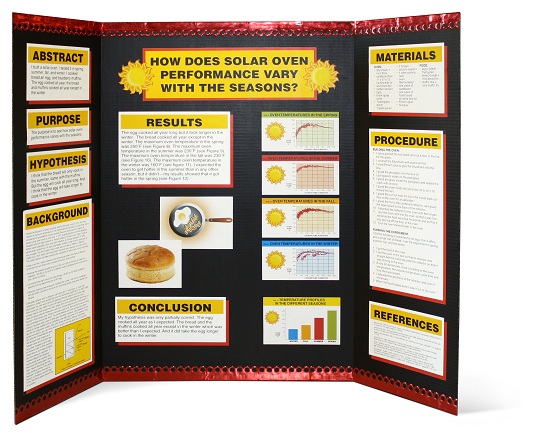
12. An eye catching color scheme, like this alternating blue and red on a black tri-fold display board, can help your project stand out at the science fair.
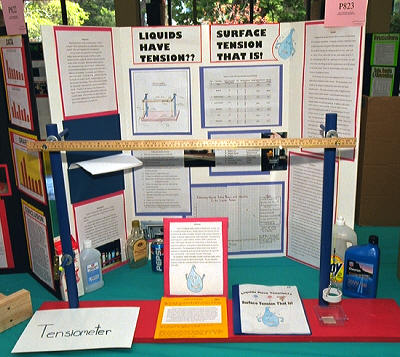
13. If your experimental setup is small enough and easily transported you may want to set it up in front of your science project display board. Make sure it does not block people's view of your display board.
14. If your experimental setup is small enough and easily transported you may want to set it up in front of your science project display board. Make sure it does not block people's view of your display board.
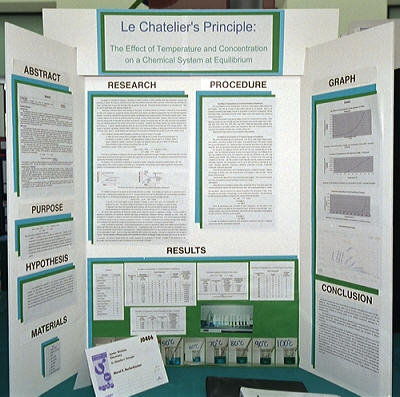
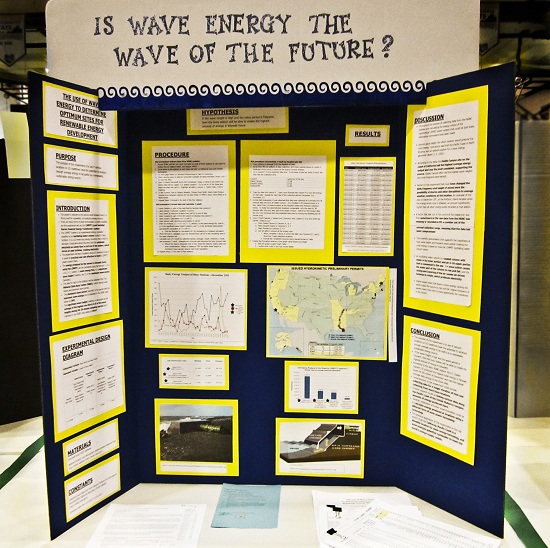
15. Clear subheadings, like the ones for Abstract, Research etc. on this science project display board, help keep the information well organized and easy for judges to find.
16. At most science fairs, like the one shown here, the project display boards must be free-standing. This makes tri-fold display boards ideal as they can easily stand on their own.
End of Slideshow Images
Advanced Display Boards
Additional Resources
- Experienced science fair goers may also want to read up on our Advanced Display Board Design and Tips.
- Students headed to top science competitions should read about Big Display Boards for Top Fairs.
Checklist
Science Fair Project Display Board Checklist
Swipe left to see more
| What Makes for a Good Science Fair Project Display Board? | For a Good Science Fair Project Display Board, You Should Answer "Yes" to Every Question |
|---|---|
Does your display board include:
|
Yes / No |
| Are the sections on your display board organized like a newspaper so that they are easy to follow? | Yes / No |
| Is the text font large enough to be read easily (at least 16 points)? | Yes / No |
| Does the title catch people's attention, and is the title font large enough to be read from across the room? | Yes / No |
| Did you use pictures and diagrams to effectively convey information about your science fair project? | Yes / No |
| Have you constructed your display board as neatly as possible? | Yes / No |
| Did you proofread your display board? | Yes / No |
| Did you follow all of the rules pertaining to display boards for your particular science fair? | Yes / No |
/-/https/img.youtube.com/vi/fS6_nfThADc/0.jpg)
/-/https/img.youtube.com/vi/A0FuVMHMyZE/0.jpg)
/-/https/img.youtube.com/vi/GDROkh1zlr8/0.jpg)