3D Print with Icing: No 3D Printer Required!
Summary

Introduction
Are you wondering how a 3D printer works? In this fun activity, you will be the printer and make colorful 3D prints using royal icing. No 3D printer is required, and your prints are edible!
Materials
- Powdered sugar, 2 cups and a little more to add if icing becomes too soft
- Egg whites from one large egg; use pasteurized egg whites (sold in grocery stores) or egg white powder (from Amazon) if you plan on eating the prints. Non-pasteurized egg whites may contain Salmonella.
- Measuring cup
- Bowl
- Mixer
- Spoon
- Several small bowls, 1 for each color you will use
- Food coloring
- Resealable plastic bag and scissors. Use an icing piping bag or an icing gun and round tips if available.
- Plate
- Spatula
- Optional: Plastic wrap to cover any leftovers
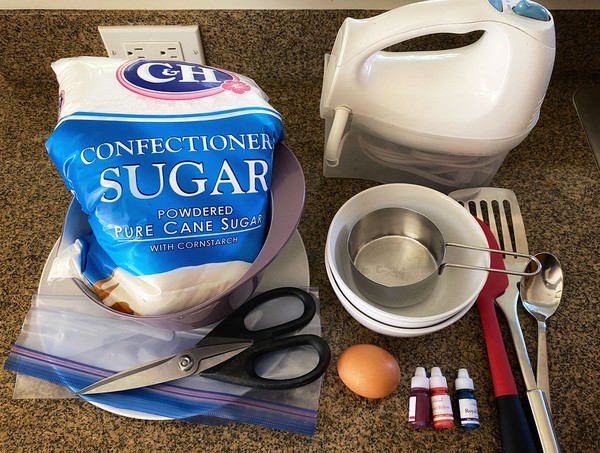 Image Credit: Sabine De Brabandere, Science Buddies / Science Buddies
Disclaimer: Science Buddies participates in affiliate programs with Home Science Tools, Amazon.com, Carolina Biological, and Jameco Electronics. Proceeds from the affiliate programs help support Science Buddies, a 501(c)(3) public charity, and keep our resources free for everyone. Our top priority is student learning. If you have any comments (positive or negative) related to purchases you've made for science projects from recommendations on our site, please let us know. Write to us at scibuddy@sciencebuddies.org.
Prep Work
- Work in an area where it will be easy to clean up any icing splatters.
- Start by making royal icing. Royal icing hardens as it dries. This activity will not work with other types of icing or frosting.
- Put two cups of powdered sugar into a large bowl.
- Separate one large egg and add the egg white to the powdered sugar. If you plan to eat the frosting or shapes, add two and a half tablespoons of pasteurized egg white instead. If you are using egg white powder, dissolve two teaspoons of the powder in two and a half tablespoons of warm water. Then add the mixture to the powdered sugar.
- Use a spoon to mix the egg whites with the powdered sugar until most of the powdered sugar is wet. This will prevent powdered sugar from flying everywhere in the next step.
- Use a mixer to mix the powdered sugar and egg whites until they combine. If the mixture does not stick together, add a teaspoon of water or egg white.
- Keep mixing for 2 minutes. The mixture will become glossy, thick, and bright white. It should stick as a clump to the mixer blades.
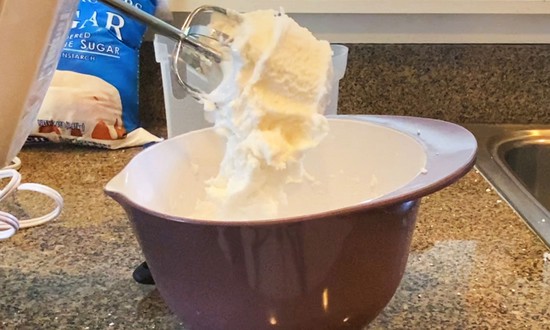 Image Credit: Sabine De Brabandere, Science Buddies / Science Buddies
- Take a spoonful of the mixture and hold the spoon upside down. If the mixture drips off the spoon, it is not thick enough. Thicken it by mixing in more powdered sugar and test again.
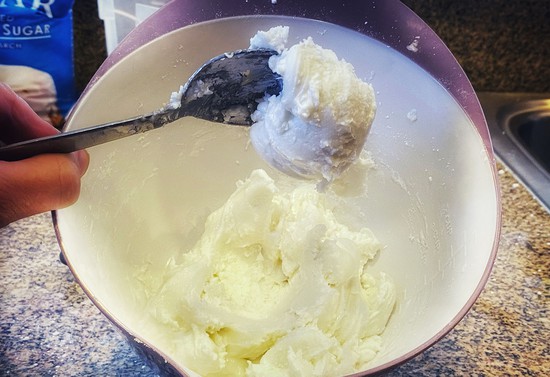 Image Credit: Sabine De Brabandere, Science Buddies / Science Buddies
- If you are not using the icing right away, cover it with plastic wrap to prevent it from drying out and hardening. The icing can be stored in the refrigerator for up to two days. It can be stored longer if you do not intend to eat the icing or prints.
Instructions
- If you want to print only in white, skip this step. If you want to make prints in different colors, scoop about three tablespoons of icing into a small bowl, add a drop of food coloring, and mix. Add more food coloring for a brighter, darker color. If your icing becomes too soft after adding food coloring, stir in more powdered sugar. Continue to add powdered sugar until the colored icing has the same thick consistency as the white icing.
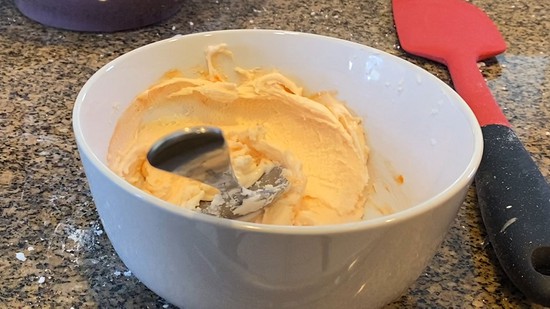 Image Credit: Sabine De Brabandere, Science Buddies / Science Buddies
- If you have a piping bag or an icing gun and a round tip, use it for the next steps. Alternately, cut a small tip from the corner of a resealable plastic bag and use the bag as an icing bag.
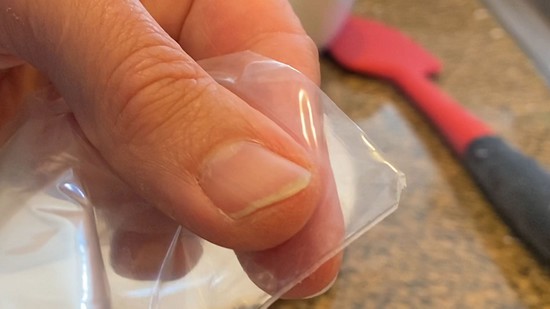 Image Credit: Sabine De Brabandere, Science Buddies / Science Buddies
- Transfer the prepared icing to the icing bag or tool and squeeze the icing towards the tip.
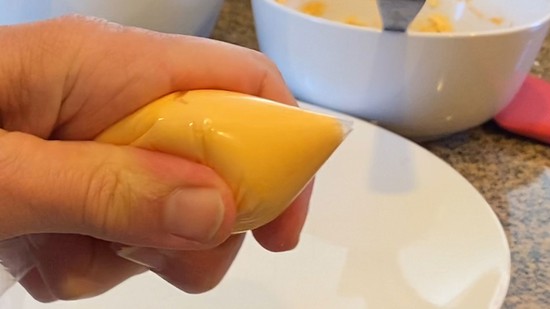 Image Credit: Sabine De Brabandere, Science Buddies / Science Buddies
- Squeeze icing out of the bag to outline a shape on the plate. You will need to squeeze firmly. If the icing is too hard to squeeze through the bag, you may need to make the hole in the resealable plastic bag larger or use a wider tip. You can also mix a small amount of water or egg white into the icing. This will make the icing a little softer but not so soft that it cannot hold its shape. Be careful not to add too much water or egg white!
 Image Credit: Sabine De Brabandere, Science Buddies / Science Buddies
 The shape you squeeze out is not tall. How can you make it thicker or taller?
 - Cover the shape with another layer of icing and then another.
What happens?
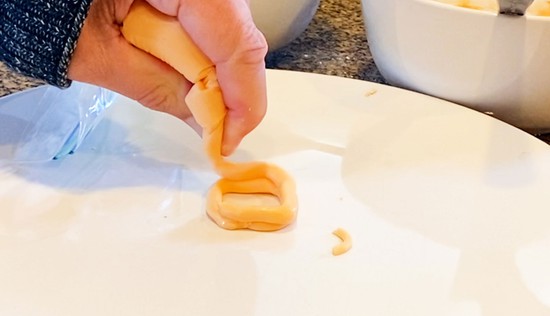 Image Credit: Sabine De Brabandere, Science Buddies / Science Buddies
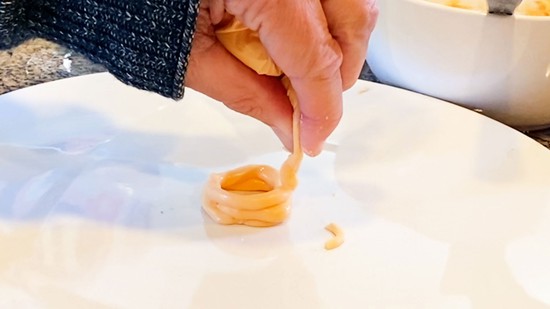 Image Credit: Sabine De Brabandere, Science Buddies / Science Buddies
- You are building a three-dimensional shape by adding thin layers of icing.
- To change colors, fill a new icing bag, or wash and dry the first one and reuse it.
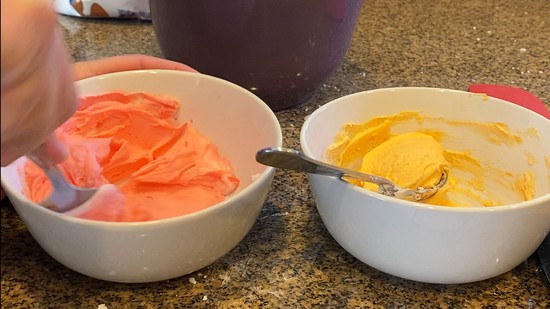 Image Credit: Sabine De Brabandere, Science Buddies / Science Buddies
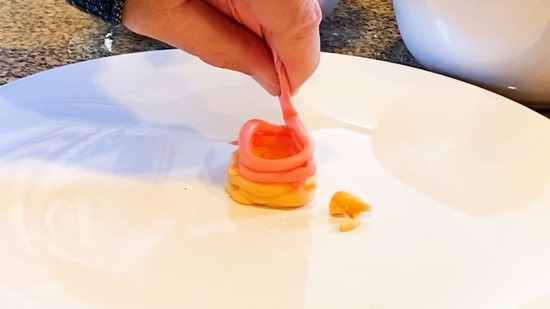 Image Credit: Sabine De Brabandere, Science Buddies / Science Buddies
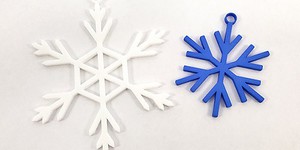
- Try to make many different types of shapes.
What types of shapes are easy to print? What shapes are difficult to print?
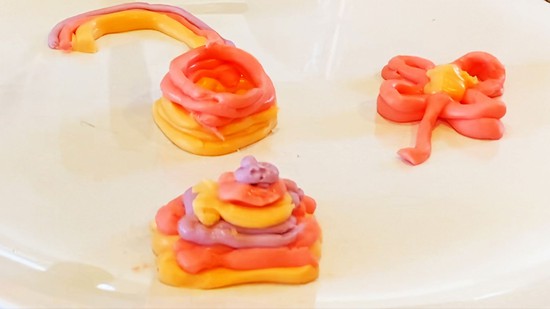 Image Credit: Sabine De Brabandere, Science Buddies / Science Buddies
- Let your shapes dry for at least a day. If you plan on eating the shapes, let them dry in a refrigerator. If the shapes are not for eating, leave them to dry for another day or two. Drier shapes are harder and less likely to break when you pick them up.
- Carefully pick up the shapes using a spatula.
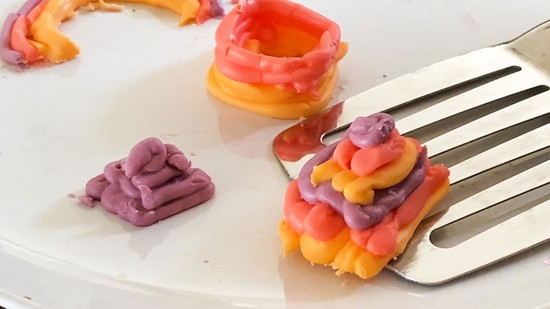 Image Credit: Sabine De Brabandere, Science Buddies / Science Buddies
- If you used pasteurized egg white, you can eat your sculptures! Royal icing stays good to eat for up to two days in the refrigerator.
Cleanup
What Happened?
You should find that your layers of icing bind together to form a three-dimensional shape.
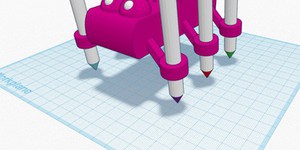
There are many different types of 3D printers. The most common "consumer" 3D printers push a spool of plastic through a hot nozzle that briefly melts the plastic. The plastic quickly cools and solidifies again. This process is repeated in layers to build a 3D part or object. This process is similar to what you did in this activity: you squeezed icing through a narrow nozzle to add layers, one by one, to create a three-dimensional shape. The layers of icing hardened to form a 3D object you could pick up.
Read the Digging Deeper section to learn more about this and other 3D printing technologies.
Digging Deeper
3D printing is a type of "additive manufacturing"—a way to build shapes by adding new material, one layer at a time. This is different from subtractive manufacturing, where you start with a solid block of material (like metal or wood) and cut or carve material away.
There are many different types of 3D printers. The most common "consumer" 3D printers use fused deposition modeling (FDM). These printers push a spool of plastic through a hot nozzle that briefly melts the plastic, allowing it to bind to the previous layer. The plastic quickly cools and solidifies again. This process is repeated in layers to build a 3D shape.
Other 3D printers use stereolithography (SLA). These printers start with a vat of liquid, and the liquid is solidified by a laser, one layer at a time. At the end of the process, all the excess liquid is drained away. Other 3D printers start with a bed of loose powder or granular material. The bits of powder can be fused with heat from a laser. This method is called selective laser sintering (SLS). Depending on the powder type, the bits of powder can also be bound together by applying a liquid or binder. This process is called binder jetting. Either way, the excess powder is dumped off at the end of the process, and you are left with a 3D shape.
The process you followed in this activity is most like fused deposition modeling. You laid down layers of 'plastic' (royal icing) one at a time. These layers fused together and hardened as the shape dried. This is similar to the way hot plastic binds with other layers and solidifies as it cools in fused deposition modeling. The icing does not solidify as quickly, but in the end, you are left with a solid three-dimensional shape made of icing.
Ask an Expert
For Further Exploration
- Try making shapes that are more complex with variable cross-sections or hollow areas (for example, an arch or a hollow pyramid).